In this article, you will learn how to create templates in the desktop Inspections app.
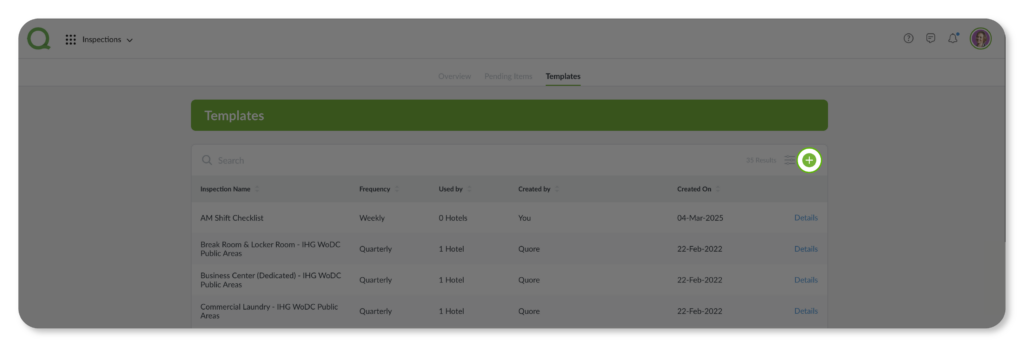
1. From the desktop Inspections app, click on Templates. Click on the (+) icon.
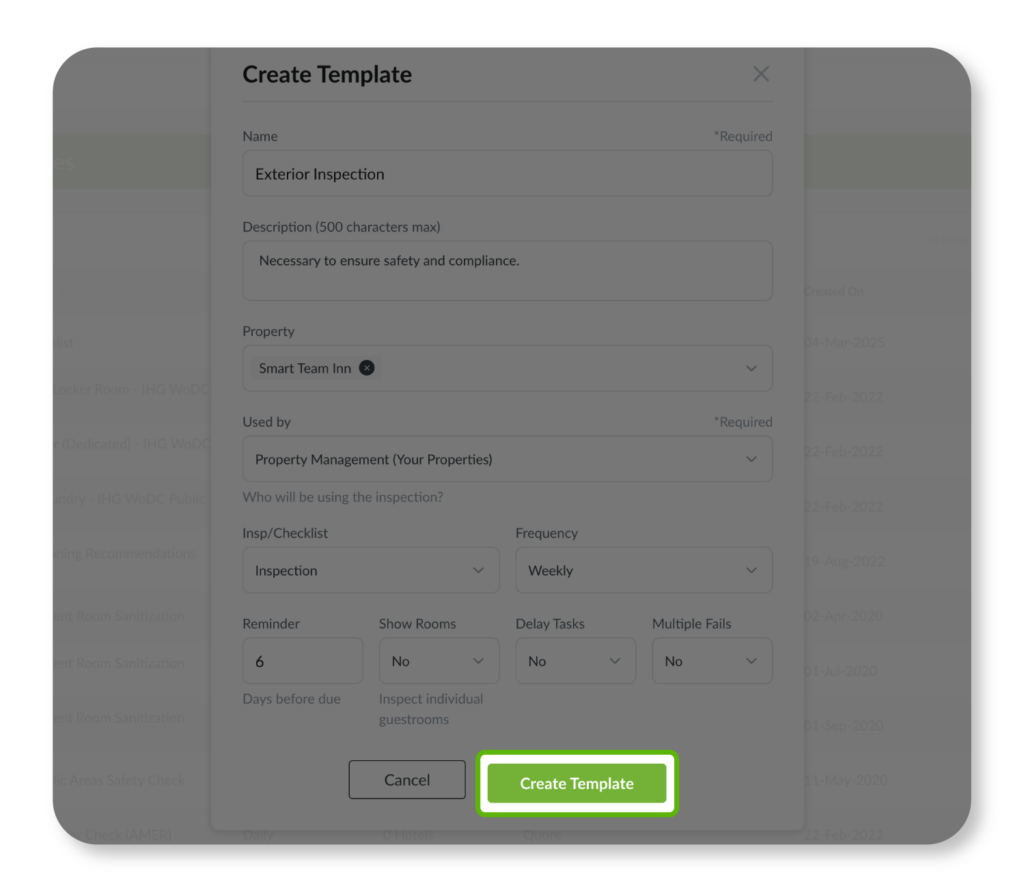
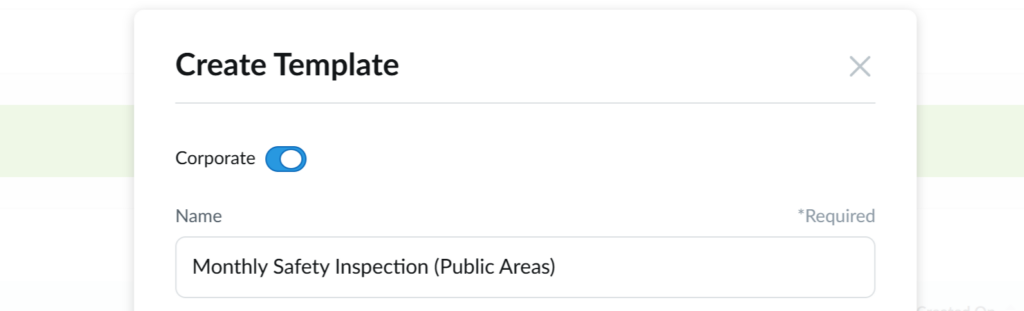
2. First, enter the template Name and Description. Do not use the Description box to list your steps as you will do this later.
3. Next, select the appropriate options in the following dropdowns:
- Property – Select the properties that will use this checklist or inspection.
- Used By – Select the department who will use this checklist or inspection.
- Inspection/Checklist – An inspection will allow Quore to automatically create Tasks for follow up for failed steps. A checklist will simply create a checklist of steps to check off.
- Frequency – Use this dropdown to select the template frequency. You can also use the Reminder section to be alerted in your To Do List prior to the Due Date.
- Show Rooms – Select Yes from this dropdown if you wish to have the ability to inspection individual guestrooms. For non-guestroom templates, select No.
- Delay Tasks – Select Yes if you wish for failed steps to be sent out after the inspection is completed.
- Multiple Fails – Select Yes if a step should be failed multiple times.
4. When you are done, click Create Template.
5. To complete the creation process, on the next page begin to build your template by entering a step in the text box.
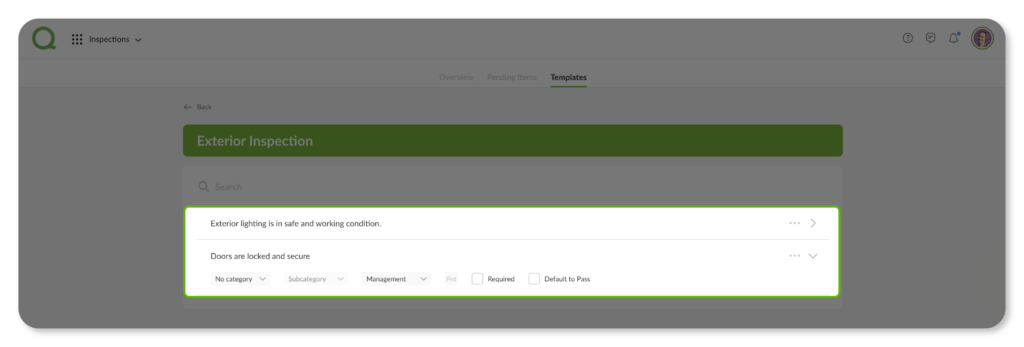
You can continue to add steps or click Add Category to create categories for the steps to go into. Click the Add Step button to add your inspection steps one by one. Click Add Category for your steps to fall under; adding categories is optional. If you selected Yes for the Show Rooms field, you would see a Room tab. To add steps to your guestroom inspection, click the Room tab, then add the steps. For a non-guestroom inspection, add the steps under the Main tab.
Pro Tip: All changes to templates save automatically.
7. To add subcategories, click the Three Dots (…) in the category row and click Add Subcategory. Type in the subcategory name and click anywhere to save.
8. To add steps to your inspection/checklist, click Add Step. Enter your step details in the Name your Step field. Click anywhere to save.
Select the category and subcategory you would like to add the step to if applicable.
The below options will only be available when creating an inspection:
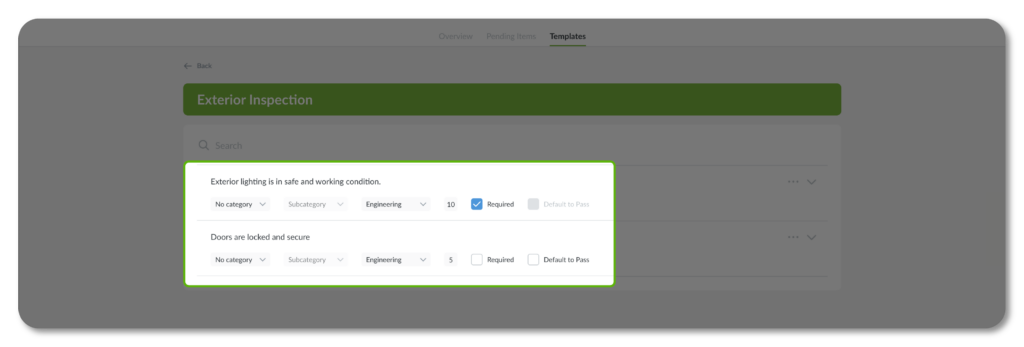
- Choose a department for a Task to go to if the step is failed.
- Assign point values to each step in the Point field.
- Mark the step as Required or leave this box unchecked to make it not required. If Required, you will have to mark that step before completing the inspection. If Not Required, then you will be able to skip the step.
- Select Default to Pass if you want the step to be pre-checked. Default to Pass steps cannot be marked as required.
- When finished, click anywhere on the screen to add the step to your template.
Pro Tip: The Complete button will not be active on these inspections/checklists until all required steps are marked.
Corporate Controls
Corporate users can flag a template as a Corporate template by switching the Corporate switch on above the Name field on the Create Template page. Flagging a template as a Corporate template will trigger the appearance of a green C beside the template name. Only corporate users have access to edit corporate controlled templates once they are created.
Corporate controlled templates will have the following options at the bottom of the Create Template page:

- Auto Apply – Applies to all new and existing properties within that management company.
- Allow Copy – Enables users to make a copy of the template.
- Required – Restricts the ability for the template to be removed from the property.